We have moved to a new site! This page will redirect you in 5 seconds. If it doesn't, click here!

Thursday, September 29, 2011

New Halloween printable Invitations Just Added!!

Are you throwing a Halloween Party this year? What better way to invite all your family and friends over than a personalized invitation made just for you. Check out these new Halloween Printable Invitations I just added them to my shop! Let me know what you think.  


Click Here  to see the invitations listed in my shop!

Wednesday, September 28, 2011

Added a few new Invitation Designs to my SHOP

Just added a few new Invitation designs to my shop!  I would love to get some feedback on likes and even dislikes, or recommendations on what you would like for me to make up!! I love advice from customers it the best kind!!


how to decorate cookies best tutorial!!!

So i have been search for some good cookie decorating tutorial and i found Karens Cookies   See this amazing Cookie tutorial  Let me know what you think!


Halloween Dessert Ideas!!

Halloween is getting closer so I have been search for some good halloween treats to make. todays post is all about witches desserts!!!  They are all so cute and different!
Heres how to make them Witch Cupcakes


Aren't these broom sticks so cute! click HERE  to see how to make them


this is a whole new way to make witch cookies  in 3d  click HERE!

Monday, September 26, 2011

Free Halloween Cupcake Toppers

Happy Monday!!! Halloween is getting close so I thought I would offer these cute Free Halloween Cupcake Toppers to you!!! 

Click here to download you Free Halloween Cupcake Toppers
made just for Cupcake express blog users. These are to be used for personal use only. Thanks

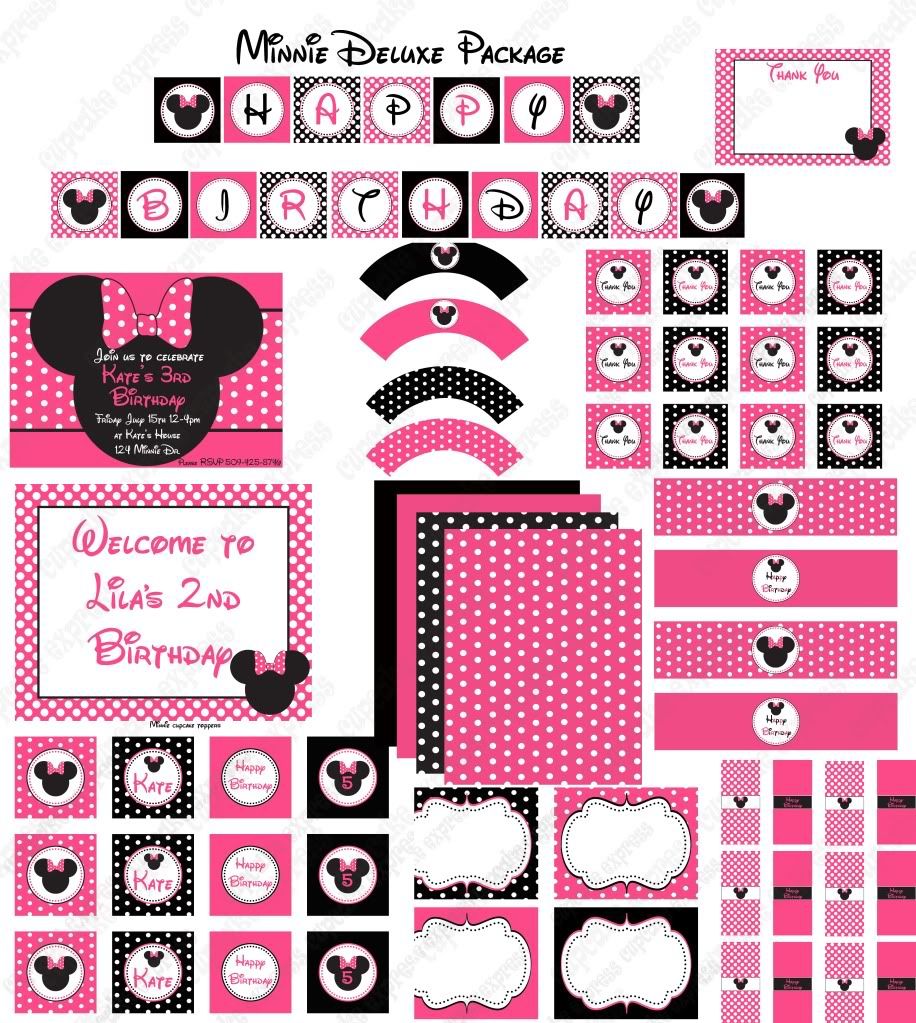
Minnie Mouse Deluxe Collection


I also have put some items together on Pinterest that would go perfect with this party theme. here are some great ideas for your next minnie party! to see my items on pinterest click HERE

minnie mouse ribbon topiary from So Cute Partiesminnie mouse cake pops from Moms Killer Cakesblack chocolate M&M's from candy wahrehouseminnie mouse cakepink lollipop from candy warehoueminnie mouse birthday shirt from Luv That Look
fondant cupcake toppers from Sweeten your dayminnie sugar cookies from Not Betty Cookiesblack polka dot balloons from polka dot markettreat boxes from polka dot marketfavor treat bags from ThePartyFairyballoons from polka dot market
minnie favors poof wands from The Sugar Ribbonminnie mouse party pursehot pink rock candy from candy warehousecupcake liners from Bakers Bling Shopstriped black and white straws from  Hop Sweet Lulupink and black table setting ideasminnie cupcake toppers  from simply sweets

Sunday, September 25, 2011

Tutorial on how to make a ribbon topiary.

okay so if you seen my last post of my son's birthday you may have noticed the ribbon topiary that i made. These are super easy and cheap, they just take a little time.  so here is a step on how to make one yourself.


You will need:
-ribbon cut in 4 in strips LOTS!! ( any size I recommend doing 2 different sizes)
-straight pins ( any kind, I liked the pearl ones)
-styrofoam ball ( any size, I did a 6in ball)
- wooden dowel 
- pot ( any kind, I did a Terra cotta pot and painted it white)
-sissors
-floral foam
- hot glue

I did 2 sizes of ribbon ( 7/8in and 1.5in)

I bought a 6in styrofoam ball ( finished product with a 6 in ball is about 8-9in round)

Take 1 of your cuts of ribbon and  make a loop


Then stick your  pin through the loop

different angle to show the pin and loop.

Then you stick your pin with the ribbon on it into the styrofoam ball. Make sure to push the pin in all the way in till it stops.


I put my ribbon going all different directions, you don't have to make it in perfect lines. I think it looks best to have them placed everywhere.

just another angle

you finished product will look like this


once i was all done with the ball I made a hole in the styrofoam ball with my wooden dowel   then i used my glue gun an put some glue in the hole ( not to much )  I then place the wooden dowel back into the hole and let set up. I used my floral foam and put it in the bottom of my pot. then i did the same thing and placed my dowel in the foam.  once i was done I found so tissue and tulle and covered up my foam.


I also added ribbon around the top of my pot to match. Hope you enjoyed this tutorial. Stay tuned for more.

Saturday, September 24, 2011

Hayden's First Birthday train collection

My my son just turned one and i have been planning and designing his party since he was born. I started designing my Train collection just for his first birthday.   I picked my favorite boy colors and put them all together to make one really cute train collection.  hope you enjoy all the pictures. You can purchase my train collection HERE


 For the backdrop I went to Joann Fabrics and bought solid navy fabric, which made the banner colors really pop!

I bought the train cookie cutter at thecookiecuttershop.com 
I used favor straws from thepartyfairy.etsy.com for the marshmallow pops’ sticks .  I purchased the jumbo marshmallows at my local grocery store and dipped them in white chocolate which I colored to match his party

This was my 3rd cake I have made and it turned out really cute  and super easy. I just covered the cake with white fondant  then I  colored the fondant to match  3 of my colors. I used a small round cookie cutter and cut out the polka dots. Super super easy, I used a little water to apply the dots.   And the best part was the train topper. i am not an artist so i had no idea how to make a train topper. then it came to me I had a 3.5 in. Train cookie cutter I had bought to make train cookies. I just rolled out my fondant as thick as the cookie cutter and cut it out.  Then i used my left over colors and added some detail on top to give the train some other colors. So easy!
this is my favorite cake plate i use it alot and just change the ribbon colors. I bought this at http://www.2chicchicks.com


 I purchased the apothecary candy jars at my local Michaels store with my 40% off coupons which made them only $12.00 each!!


I made this ribbon topiary. I was alot of fun but it took me a long time to finish.  I think if i ever made this again I would not do the ribbon so tight / close together as it looks really neat but it took way more ribbon than i thought and a whole lot more time.  I would still look really good with bigger loops. Ribbon topiary tutorial coming soon!!